Why a Clear Glass of Water Can Still Be Unsafe to Drink

Changes in water taste or colour can signal contamination, but clear water isn’t always safe to drink. Some harmful substances have no colour, smell, or taste, so you can’t always detect them yourself.

This makes it difficult for Australian households to know when their tap water is unsafe. At Easy510, we focus on home water quality because problems often start where you can’t see them, inside the pipes or at the source.

This guide covers the taste, smell, and colour changes worth checking, the symptoms that can trace back to your tap, and how home kits compare with a certified lab. Read on before you pour the next glass.

Clear Tap Water Can Still Carry Invisible Water Contaminants

Close-up photograph of a glass of clear tap water and a bottle

Clear water may look clean, but its appearance only tells you that it has few visible particles. Many harmful substances, including arsenic, nitrates, lead, and certain chemicals, dissolve completely in water. This means they can remain present even when your tap water looks as clear as bottled water.

Invisible contaminants cause concern because they can remain in drinking water without changing its taste, smell, or appearance. Lead in drinking water often leaches from old pipes and brass fittings after water sits overnight, and it adds no taste or smell at low levels. Australian and US water authorities both set strict limits on lead because of the health risks it carries.

Even when your local utility treats water to meet safety guidelines, contamination can still occur inside your home. Older houses with original plumbing may have a higher risk of lead entering the water after treatment. Flooding can also affect private wells and rainwater tanks by introducing fertiliser nitrates and bacteria such as E. coli. These contaminants may be present even when the water looks perfectly clear.

Because these problems are difficult to spot, arrange a water test after flooding, plumbing repairs or a change in water source. Each event can introduce contaminants that affect water quality without changing its appearance.

Water Contamination Signs: What Taste, Smell, Colour and Flow Reveal

Your senses still catch plenty of problems, and signs of contamination usually show up as a change from what’s normal in your home. Normal water looks clear, tastes neutral, and flows steadily, so any change in taste and smell deserves a closer look. Each change below comes with its likely cause and the next step to take.

A Metallic Taste Points to Iron, Copper or Lead in the Pipes

A metallic taste in your tap water can mean iron, copper, or lead is leaching from corroded pipes and fittings. Acidic water can speed up this corrosion and allow more metal to enter the water supply.

You may notice the taste more strongly in the morning because water has been sitting in the pipes overnight. During this time, it can absorb metals from the plumbing.

Run the cold tap until the water feels noticeably colder before drinking. If the metallic taste remains, arrange a lead test to check for contamination.

Why Does Water Smell Like Rotten Eggs or Sewage?

A rotten egg smell in your water often comes from hydrogen sulphide gas, which can develop due to sulphur bacteria in bores or hot water heaters. A sewage-like smell may indicate bacterial growth in drains or a problem with the water supply.

Smelling the hot and cold taps separately can help you narrow down the source. If only the hot water smells, the issue may be linked to the heater’s anode rod. But if both taps have the same unpleasant smell, the problem may affect the water supply itself. Stop drinking the water and arrange a test before using it for cooking.

Cloudy, Milky or Yellow Water From the Cold Tap

Cloudy water that clears from the bottom up usually contains harmless air bubbles. However, if the cloudiness remains, it may indicate sediment, high mineral levels, or a problem with the water mains.

Yellow or brown water often points to a different issue. Rust from iron pipes or tannins from decaying plants in groundwater can cause these colour changes.

You can check what may be causing the cloudiness by leaving a glass of water to stand for a few minutes. If the colour remains after flushing the tap, contact your water supplier and ask them to check the supply.

Blue, Green or Brown Stains on Sinks and Appliances

Copper corrosion often leaves blue or green stains on bathroom sinks, while iron or manganese in the water may cause orange or brown marks. If green stains keep returning after cleaning, corroded pipes or fittings may be the cause.

White, crusty deposits on taps and kettles usually point to a different issue. These marks come from hard water, which leaves calcium deposits as it dries. Although they can build up over time, they rarely pose a health risk.

Before cleaning any stains, take a few photos to show a plumber. The colour and location of the deposits can help them identify the likely cause and recommend suitable treatment.

A Sudden Drop in Water Pressure or Grit in the Glass

A sudden drop in water pressure alongside grit in your glass may indicate a burst water main or damaged pipes. When a pipe breaks, soil and bacteria can enter the water supply, which affects water quality as well as pressure.

Check with your neighbours to see if they have noticed the same problem. If several homes have low pressure, the issue may be with the street’s water mains. However, if the problem only affects your home, your internal plumbing may be responsible.

Contact your local water provider about suspected main breaks or boil-water notices. For ongoing grit in your tap water, our guide to under-sink filtration for fresher-tasting tap water explains how a filter can help remove sediment.

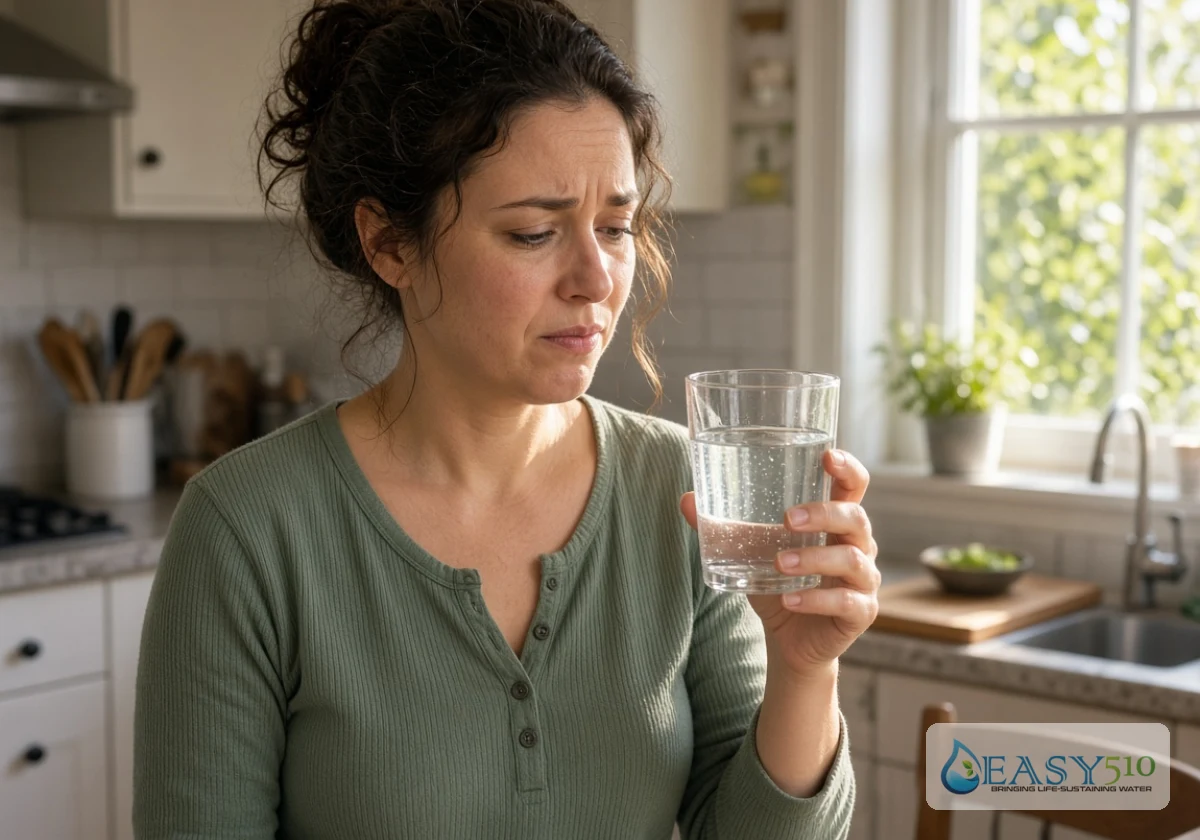
A woman at a kitchen sink in morning light leaning forward toward

Which Health Symptoms Point to a Problem With Your Drinking Water?

Health symptoms can also point to problems with drinking water. If several family members develop stomach problems around the same time, contaminated water may be the cause. Bacteria, viruses, and parasites can trigger nausea, vomiting, diarrhoea, and cramps soon after exposure.

Heavy metals and chemicals act more slowly. Lead and arsenic build up in the body over months or years, which is how unsafe water affects health long before anyone links those health problems to the tap. Pregnant women, babies, and older adults feel the health effects first (their bodies clear toxins more slowly than healthy adults).

When we write about home water problems, one pattern keeps coming up: households suspect takeaway food before considering their tap water. Yet stomach upsets and other symptoms have many possible causes, so you can’t identify contaminated water by symptoms alone.

If you suspect contamination, use a safe alternative drinking-water source and arrange appropriate water testing. Watch for these signs and seek medical advice when needed:

  • Stomach Problems: When several household members experience nausea, vomiting, diarrhoea or cramps around the same time, record when the symptoms began.

  • Skin Rashes: Photos of irritation that appears after showering or washing can help your GP assess the affected areas.

  • Headaches and Tiredness: Persistent symptoms with no obvious cause may be worth investigating, especially after plumbing repairs.

  • Dehydration in Children: Young children can lose fluids quickly during repeated stomach upsets, so seek medical advice if they show signs of dehydration.

  • Bluish Skin in Babies: Blue or grey colouring around a baby’s lips is a medical emergency and needs immediate attention.

Keep a record of when symptoms started and which family members were affected. Then share these details with your GP and contact your local water authority or an accredited water testing laboratory about possible contamination. They can advise you on suitable tests and whether you should use another water source while the problem is investigated.

Drinking Water Testing: Home Kits Versus a Certified Lab

Once you have that symptom timeline, a test tells you what’s causing a warning sign and how serious it is. You’ve got two main paths, plus the free Water Quality Reports your provider publishes. Compare what each option checks before you choose a route.

OptionWhat It ChecksBest Use
DIY test kitspH, chlorine, hardness, some bacteria, and leadQuick screening and tracking changes over time
Certified labLead, arsenic, pesticides, nitrates, bacteria, and morePrivate wells, health symptoms, or buying a home
Provider water quality reportTreated water before it reaches your propertySeeing what your utility already monitors

Start with a certified lab if anyone feels unwell or you rely on a private well, because home kits can miss low levels of lead and arsenic (look for NATA accreditation on the lab’s test report).

In our experience covering home water filtration, the most common mistake is buying a filter before knowing what the water contains. Once results arrive, reverse osmosis or a carbon filter can target the specific problem and protect your drinking water quality.

A hand holding a clear glass of tap water up to bright morning window

Trust the Test, Not the Glass

Water contamination signs give you useful clues, yet the most harmful contaminants never change how your water looks. Only testing confirms that your water is safe to drink.

Act quickly on any change in how your water tastes or smells, or how it looks. Book a lab test after floods, plumbing work, or unexplained illness in the household.

Easy510 shares practical advice on home water systems and filtration for Australian households. Contact the Easy510 team to talk through your results and choose the right path to safe drinking water.
The Last Metre Problem: How Clean Water Becomes Contaminated Before Drinking

The Last Metre Problem: How Clean Water Becomes Contaminated Before Drinking

Water can leave the tap or the roof perfectly safe and still make your family sick by the time it reaches a cup. Much of the water contamination during storage happens in that last metre, where hands, open lids and neglected tanks undo good water treatment.

That’s why access to safe water at the source only solves half the problem. Easy510 writes for homes on town supply and homes on rainwater. Both share the same gap because water safety depends on how people handle it.

This article explains how germs enter water, how to choose drinking water containers and tanks, and why steel tanks corrode. It also covers five household water hygiene habits. Read on to find your home’s weak spot.

Water Contamination During Storage: How Safe Water Goes Bad Between the Tap and the Cup

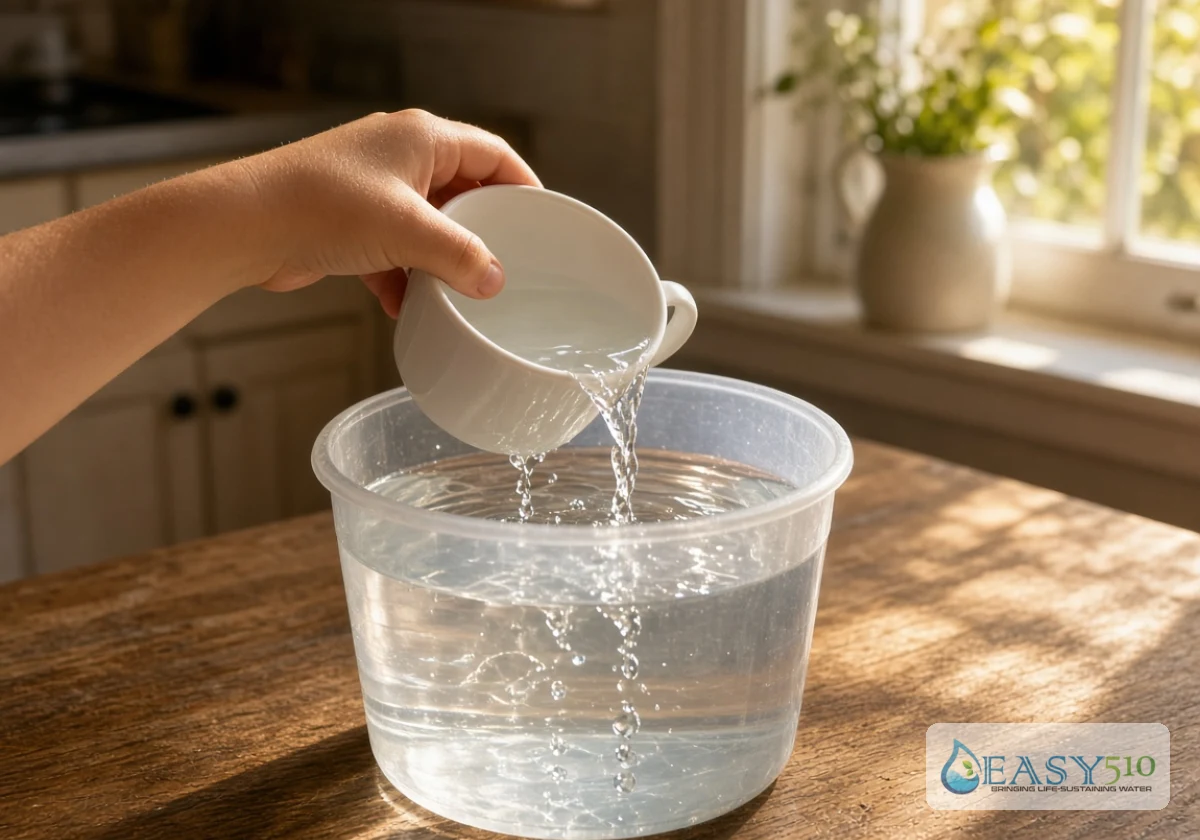
A child's hand dipping a cup into an open plastic bucket

Water goes bad in storage when something dirty touches it, or when the container gives bacteria the warmth and time they need to multiply. Germs from hands, dust, insects and animals all get in this way, and quality drops long before you can see or smell a problem.

Contamination tends to travel one of four routes into household storage. Knowing the route tells you which habit to change first:

Hands, Cups and Dippers: The Fastest Route into a Clean Container

Hands are one of the most common sources of microbial contamination in stored water. Each time someone dips a cup into an open bucket, their fingers touch the water and leave bacteria behind.

Those germs keep multiplying while the container sits, and the bucket slowly becomes contaminated water. One dirty dip can affect every glass poured after it (kids with sticky fingers are usually the fastest culprits).

Pour water out through a tap or spout instead of dipping into it, especially when storing water for several days. If you must use a dipper, choose one with a long handle and hang it away from the bench.

Lids You Leave Off and Containers You Leave Open Overnight

An open container collects dust, insects, leaves and droppings fast. Overnight is the worst stretch because cockroaches, geckos and mosquitoes move around while everyone sleeps.

On top of that, a loose lid lets in nearly as much as no lid at all. You’ve probably got a bucket at home that lost its original cover years ago.

So every container you use for drinking needs a tightly sealed lid, since preventing contamination is far easier than fixing it later. Check the seal each week and replace any cracked or warped lid. Even filtered water won’t stay clean if gaps let contaminants enter.

Sunlight, Warmth and Slime: How Heat Feeds Bacteria in Tanks

Warmth gives bacteria the conditions they need to grow, and sunlight is a common cause. It heats the water inside shallow or see-through tanks, and algae growth soon follows.

After that, a slimy layer called biofilm forms on the walls and shelters bacteria. This biofilm sheds germs back into the water each time the level drops or the tank refills.

Place tanks in the shade and choose opaque materials that block light. If you’ve set up rainwater harvesting for homes, plan regular cleaning and scrub the walls whenever you’re cleaning tank sediment out (a soft brush lifts the slime without scratching the walls).

Dirty Collection and Transport Before the Water Reaches the House

Water carried from a standpipe, bore or neighbour’s tank picks up dirt on the way. Jerry cans with narrow necks are hard to clean, so sludge from earlier trips stays inside.

Plus, a container that once held fuel or pesticides keeps traces of those chemicals in the plastic. Chemical pollution like this won’t come out with a simple rinse, and boiling won’t remove it either.

Good water collection safety starts with separate containers kept only for drinking. Never reuse old chemical storage drums, and scrub each can with a long brush before every trip.

Which Drinking Water Containers and Water Tanks Keep Stored Water Safest?

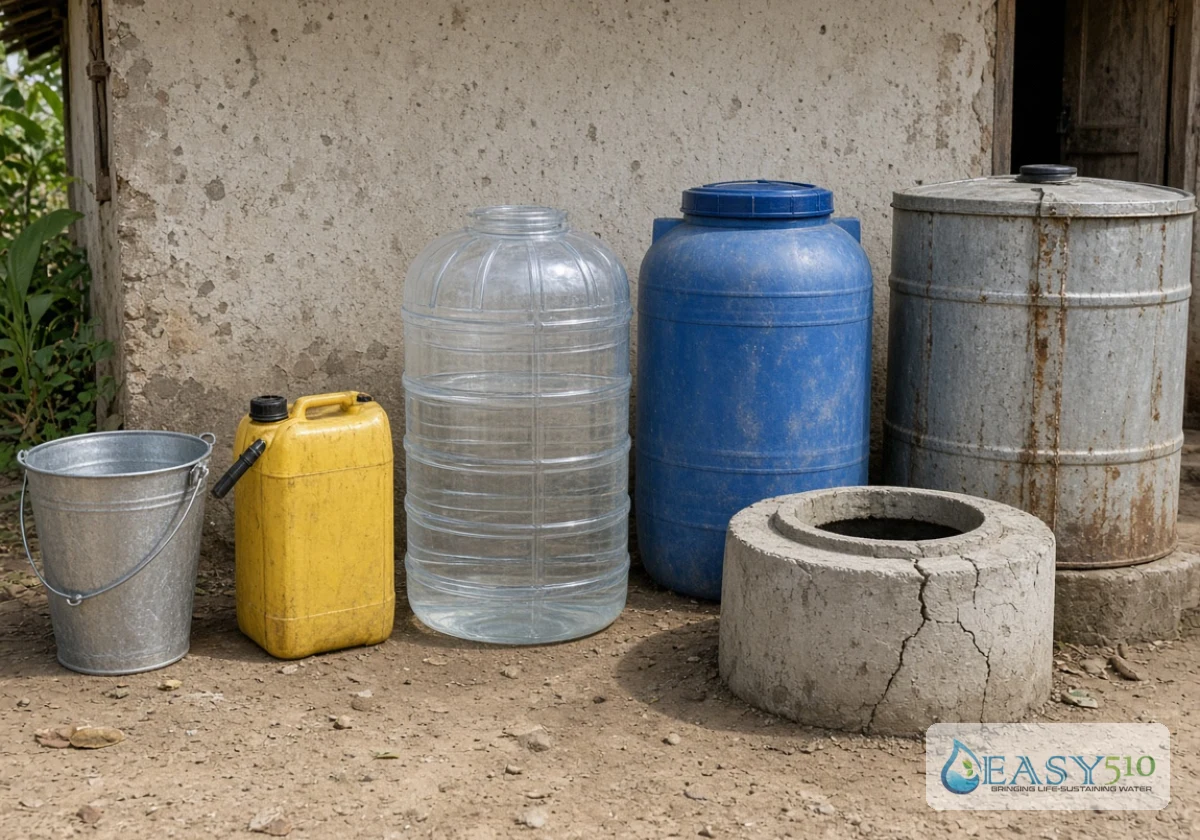
Six different water storage containers positioned outside a simple

With those four routes in mind, the container itself decides how many of them you can block. Opaque, food-grade containers and Water Tanks with sealed lids and a tap work best, because they shut out hands, light and dust.

Size also plays a role because water that sits for weeks gives bacteria more time to multiply. Choose a container your household empties and refills within a few days. A tap set slightly above the base also helps, since sediment settles below it and stays out of your glass.

Let’s compare the most common options side by side to see how each one performs.

ContainerMain riskWhat to do
Open bucketHands, dust, insectsSwap it for a lidded container with a tap
Jerry can with tapSludge in the neckBrush it out before each refill
Food-grade poly tankAlgae if see-throughChoose opaque and keep it shaded
Concrete tankCracks let in runoffSeal cracks and check the lid fit
Galvanised steel tankRust once coating wearsInspect yearly and fit a liner
Stainless steel tankCorroded fittingsCheck joints and the outlet tap

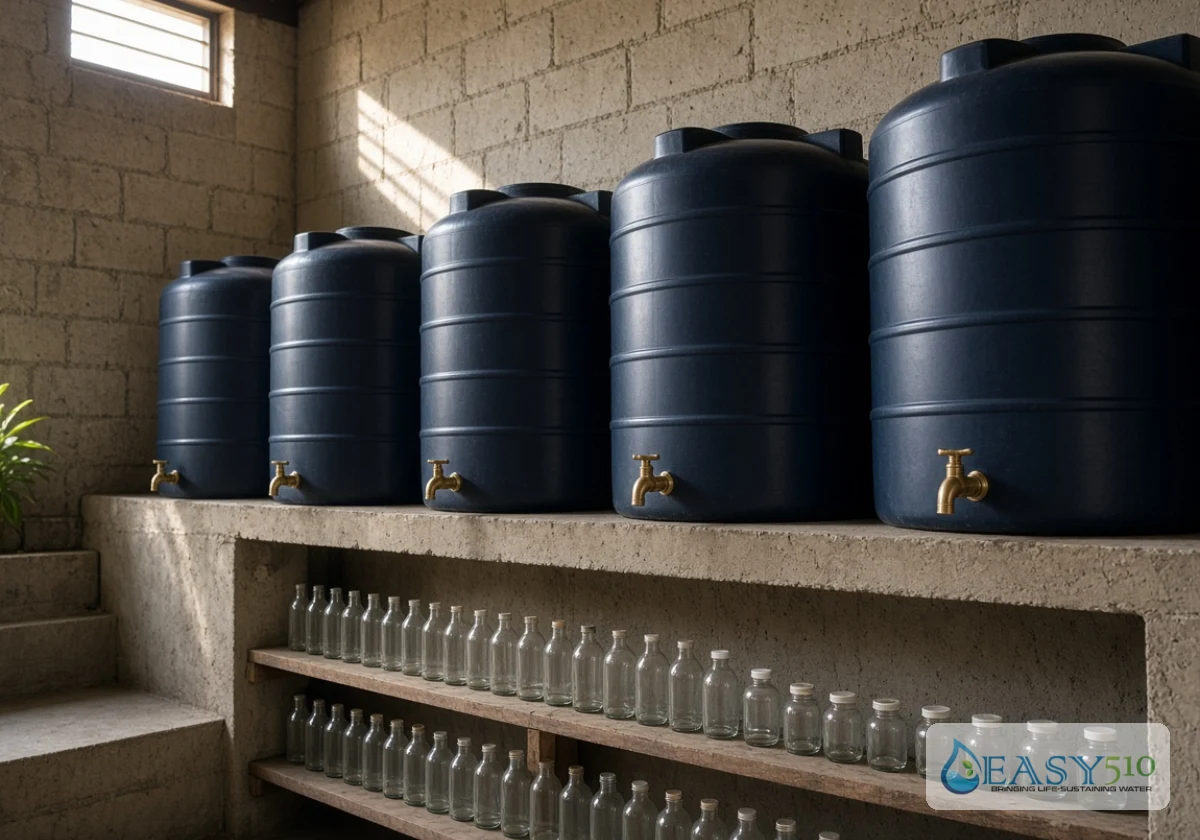
For most homes, opaque poly water storage tanks offer affordable clean water storage. They block light without the rust risk of steel. Keep fire water tanks and garden supplies on separate lines, so nobody fills a drinking jug from the wrong tap.

Corrosion Inside Steel Tanks Adds Rust and Metals to Otherwise Clean Water

Steel tanks carry a storage risk that has nothing to do with germs, because corrosion slowly releases rust and metals into the water. Once the galvanised coating wears through, the bare steel underneath starts rusting where water and air meet.

Rust flakes then stain the water brown and give it a metallic taste. Old fittings, solder and some roof paints can also add heavy metals like lead, which you can’t taste at low levels.

Anyone who has drained an old steel water tank knows the outlet end usually rusts first. That’s why a tank that looks fine from outside can still fail a water quality test (the inside of the tank always tells the real story).

Pinhole leaks, bubbling paint and orange streaks near the outlet are the warning signs to check during tank inspections. Once you spot them, you can fit a food-grade liner, repair small patches or replace the tank.

Before deciding, book a lab test for metals and compare the result against drinking water guidelines. It will tell you if the tank still holds potable water or only suits non-potable uses like gardening. Ongoing water quality monitoring also shows if a repair worked.

Building Household Water Hygiene Habits That Keep Stored Water Safe

An unattended open bucket of water sitting on an outdoor step

With the right container and a sound tank in place, daily habits decide whether they stay clean. Household water hygiene is water quality management on a small scale. A routine helps prevent contamination from building up over time.

For instance, a family might scrub the tank every summer and still dip unwashed cups into the kitchen jug each morning. You’ll probably recognise that jug from your own bench, and it carries the most risk because it sits closest to the cup.

Children often handle the containers most and forget handwashing easily. So teach them water handling alongside handwashing, since both habits help prevent waterborne diseases. Sanitation systems and hygiene education also protect whole communities.

If you’re interested in a routine that sticks, have a look at these five habits:

  1. Wash your hands with soap before touching any water container or cup.
  2. Pour from a tap or spout and keep cups out of the storage container.
  3. Keep lids on at all times and replace cracked ones as soon as possible.
  4. Scrub small containers weekly with soap and a long brush, then rinse them. Clean and maintain large tanks on a set schedule.
  5. Clear gutters and check tank screens after storms and before a Darwin-style wet season.

Start with whichever habit your home skips most, then add the next one once it feels automatic. Trying all five at once often means none of them will stick, so give each habit a week or two to settle in.

Over time, these small steps, repeated daily, become part of how your household handles water without anyone stopping to think. That consistency keeps quality water coming out of every container.

Keep the Last Metre Clean and Your Drinking Water Stays Safe

Safe water rarely turns bad at the source, since much of the contamination happens in the last metre between storage and the cup. Clean hands, sealed lids, the right containers and sound tanks keep that stretch protected.

So, pick one weak spot in your home this week and fix it. A new lid, a tap on the jug or a quick tank check costs little and protects every glass after it.

Easy510 shares practical guidance on water storage, rainwater and sanitation for Australian households. Ready to keep safe drinking water in every cup? Contact us for advice on protecting your stored water.

Rural Communities

How Rural Communities Can Organise Emergency Water Supplies During Pump Failures

When the town pump stops, residents may not know how they’ll get enough water over the next few days. That’s why rural communities that agree on roles and water sources before a failure are better prepared to keep everyone supplied.

But the problem becomes harder where one bore, or scheme pump, serves dozens of homes, a school and local stock. At Easy510, we see emergency water supply planning as the other half of any rainwater setup. A backup tank only helps when someone knows how to share it.

This guide covers the first 72 hours after a rural water pump failure, how much water each group needs and which supplies are safe to share. Read on to start your town’s plan.

Organising the First 72 Hours After a Rural Water Pump Failure

Rural homeowner in a work shirt standing beside a metal water pump

The way a community responds on day one affects how smoothly it handles the rest of the outage. A calm, visible response also stops residents from draining their own tanks in a panic and turning an outage into a water crisis.

The first response needs a clear order, so everyone knows what to do and who to contact. These five steps give the community a starting point.

1. Confirm the Fault and Report It to the Water Provider and Council

Start by ringing the provider that runs the public water supply. You should report when the pump stopped, where the fault is and how many homes are affected. The provider can then check if the problem involves power, a tripped breaker or mechanical failure. While you’re on the phone, ask for a fault reference number.

Next, contact the council and pass on any details the provider has confirmed. Anyone who’s chased a repair knows that number saves hours of repeat explaining. Ask when the next update will come, then share it with residents so they don’t have to keep calling.

2. Appoint a Coordinator and Call a Short Emergency Meeting

Ever tried organising help when everyone is calling different people for updates? Then you’ve probably seen messages get mixed up, tasks overlap, and some residents miss important information. That’s why your community needs one coordinator, ideally someone with good phone reception and a clear week. Residents will then know who to contact.

The coordinator’s first job is to bring everyone together for a short meeting at the hall or footy clubrooms. The agenda should cover available water supplies, who needs help first and who’ll drive the ute with the water trailer. By the end of the meeting, everyone should know their responsibilities and who to contact for updates.

Afterwards, the meeting notes should go on the noticeboard and local Facebook group so residents who couldn’t attend can catch up.

3. Check on Vulnerable Residents, the Clinic and Livestock First

During a water outage, some residents need help sooner than others. For example, older people living alone and new parents may struggle to collect enough water. Community volunteers should phone or visit each household within the first day and ask if they have enough safe drinking water.

The local clinic also needs a reliable supply for handwashing and patient care. The coordinator should confirm its daily requirements and arrange deliveries based on the most urgent needs.

Once those immediate needs are covered, livestock also need attention, since trough levels drop quickly in hot weather. If you’ve farmed through a dry summer, you’ll know many farmers track their trough levels closely. A quick head count per property shows how much carting the district faces.

4. Check Whether Authorities Have Issued a Boil Water Notice

A pump failure can drop pressure in the pipes, which lets dirty groundwater seep in through small cracks. The provider may need to test the water before confirming it’s safe to drink again. Your water provider or local authorities decide if a boil-water notice is necessary.

If they issue one, residents should follow the instructions for drinking, cooking and brushing their teeth. Once authorities issue the notice, the community coordinator should share it without changing its wording. Even small edits can confuse residents about which precautions to follow.

5. Set Up a Collection Point and a Distribution Roster

The community needs one collection point with shade, road access and enough room for a tanker to turn. A school or rural fire brigade shed usually ticks all three (the fire shed often has a tap and toilets). Bottled water also needs a cool storage area away from direct sunlight.

After that, the coordinator can draw up a roster that pairs volunteer drivers with residents who can’t travel. Short shifts help everyone manage the workload across several days.

A simple collection log can help track how much water each household receives. The council can use those records to plan further deliveries and account for distribution costs.

How Much Temporary Drinking Water Supply Does a Community Need?

The distribution roster is ready, but how much water should the community arrange? Well, daily needs depend on local conditions and available supplies.

For example, Douglas Shire Council’s 2023 emergency guidance recommends at least 8 litres per person daily, with 15 litres preferred. The figures include drinking and non-drinking water, which residents must keep separate. Check your council’s advice before settling on a daily allowance.

Clinics, livestock and pets also need their own estimates. The table helps work out the community’s total requirements.

GroupWhat to Plan ForWhat to Do
People at HomeWater for drinking and cooking for each personMultiply by household size and the days the repair will take
Clinic or Aged careExtra water for handwashing and equipmentAsk staff for their daily figure and book it first
LivestockWater needs that change with breed, feed and heatCollect each farmer’s head count and trough levels
PetsDaily water for pets, just like peopleAdd pets to the household tally so owners keep their own ration
Toilets and WashingSuitable non-drinking water for sanitation and cleaningSend rainwater, dam water or grey water here instead

The household estimate determines how much water the collection point needs to hold. Other groups have their own requirements to account for. An extra day’s supply also provides a buffer if replacement parts for older pumps take longer to reach the bush.

Safe Water Sources: Choosing and Treating Tanks, Bores and Bottled Supplies

Circle of residents gathered around large plastic water containers

Once you know the volume, you can match it to the emergency water sources around town. Many districts have private supplies in-house tanks, farm bores and dams that may help during an outage.

Among these sources, rainwater tanks for homes usually give the most reliable water backup, provided owners maintain their gutters, inlet screens and tanks. Anyone who’s cleaned a tank knows a clear surface can hide a thick sludge layer. However, a visual check alone won’t confirm the water is safe to drink. Bore water needs testing too, since iron, salt and nitrate levels vary between neighbouring properties.

For water treatment in the field, a rolling boil kills most germs. Unscented household bleach and water purification tablets also work against certain germs when used according to official drinking-water treatment instructions (check the label, as strengths differ between brands). Bottled water costs more, yet it removes the testing step for the clinic and for babies’ formula.

Portable water filters remove sediment from cloudy tank water before treatment, although their effectiveness depends on the filter type. Still, a water filter alone may not remove every germ, so boil or dose the water afterwards.

Thinking about which supply goes where? These pairings work for most towns:

  • House rainwater tanks for drinking and cooking, after a safety check
  • Sealed bottles for the clinic, infants and anyone with low immunity
  • Bore water for stock troughs and toilets until a test clears it
  • Dam water for firefighting units and washing machinery only
  • Creek water as a last resort, boiled before anyone drinks it

Keeping drinking and non-drinking supplies separate is just as important as choosing the source. The community coordinator should ask volunteers to label each tanker and container with its water source. Clear labels prevent residents from mistaking untreated bore water for drinking water.

A Written Community Water Emergency Plan Keeps Everyone Pulling the Same Way

Water repair truck backed up to a rural property

Written emergency plans let next year’s volunteers start from this year’s notes, whether the next outage comes from heat, floods or other infrastructure failures. That record sits at the core of emergency preparedness.

If you’re drafting your first plan, include these three sections in every version:

  • Contact List: Every plan needs numbers for the water provider, council, coordinator, carriers and clinic. Mobile towers can drop out when the power fails, so keep printed copies at the hall and the general store. Review the numbers each spring.
  • Water Storage Map: The map should identify each tank, bore and dam, along with its owner, size and condition. It gives the coordinator a record of the district’s available water resources. The coordinator should update it whenever someone installs a new tank or retires an old one.
  • Rationing Trigger Points: Before an outage, the community should agree on the main tank level that starts rationing and carting. Clear trigger points reduce arguments when supplies run low. A public meeting gives residents a chance to discuss and approve the plan.

A few pages should be enough for volunteers to follow during an emergency. After each outage, the coordinator should review the plan while the details are still fresh.

Start Your Emergency Water Supply Planning Before the Next Pump Stops

A pump failure is easier to manage when residents know where to collect safe water and who needs deliveries first. Clear arrangements also reduce confusion while repair crews work to restore the supply.

The next step is getting local residents together to discuss the plan and assign responsibilities. A short meeting now gives volunteers time to prepare before an emergency puts everyone under pressure.

Ready to make your town’s water supply more secure? Contact Easy510 for guidance on rainwater storage and climate-resilient water systems that keep backup water on hand.